
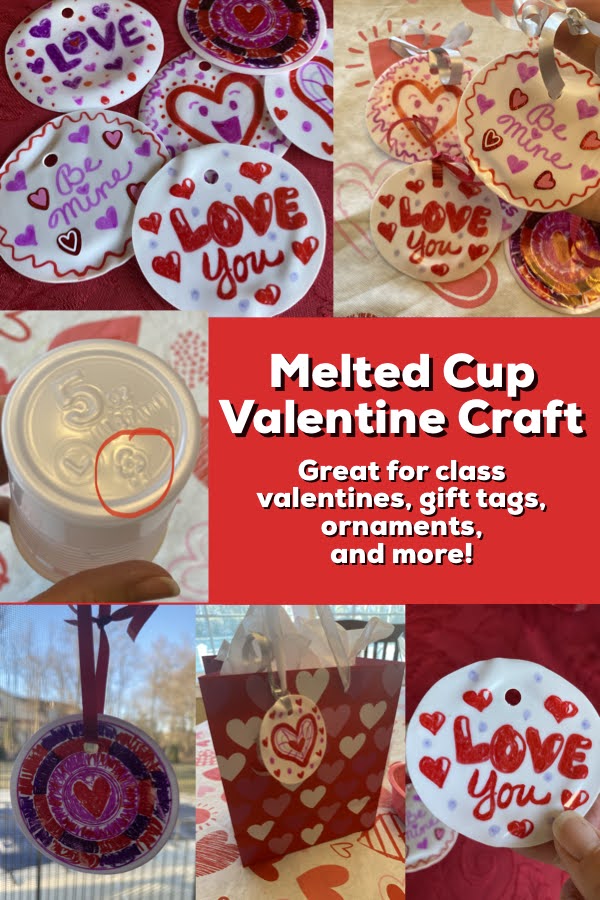
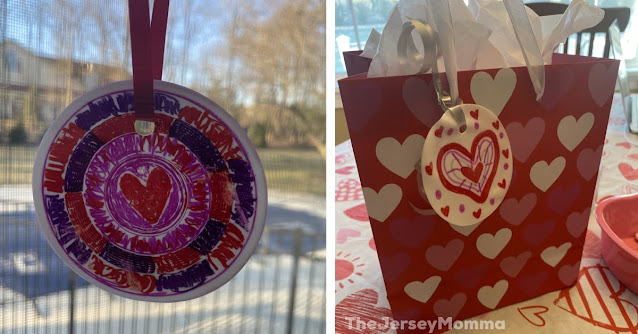
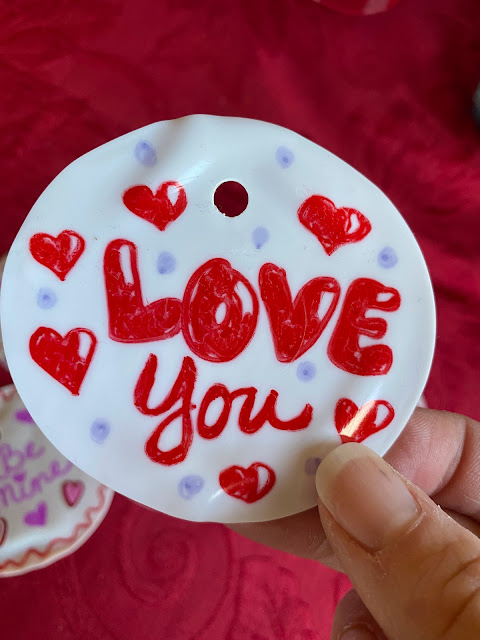
Valentine's Day is one of my favorite crafting holidays! There are so many cute and fun Valentine's Day crafts out there, and I love the coinciding shades of pink, red and purple. This month I thought I'd try an ornament craft I had seen floating around Facebook, and transform it into a Valentine's Day craft instead. These actually have multiple uses- as little hanging ornaments/decor, gift tags, or even homemade valentines. But this project could be a Pinterest fail if you don't follow my tips and suggestions, believe me, so be sure to read through my tutorial to see how you can make these cute hanging decorations for Valentine's Day!
Disclosure: this post contains some affiliate links to Amazon. As an Amazon Associate I may earn a (very small) commission from qualifying purchases. You can read more about this on my Disclosure page.
Don't forget to Pin this post for future use! Everyone needs a handy Valentine's Day craft to come back to year after year.
What You Need
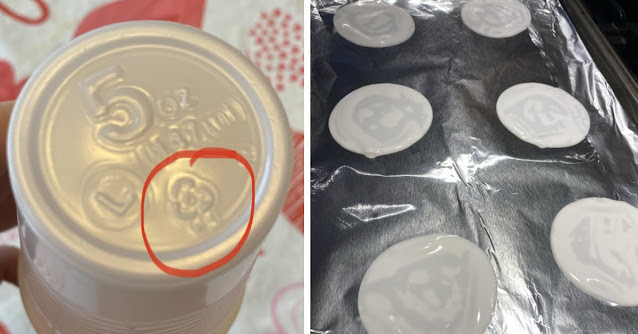
-5oz white plastic cups (they say to look for ones that have the recycle number 6 on the bottom, since they melt best in the oven, similar to Shrinky Dinks)*
-colored permanent marker Sharpies
-colored ribbon or string
-tin foil
*I cannot attest to how these ornaments will work with any other cups other than the one I am recommending (that is what I tested with). So don't blame The Jersey Momma if your project fails when you used another type of cup! Just sayin.
How to Make
1). Preheat your oven to 450 degrees.
2). Place tin foil on a baking tray.
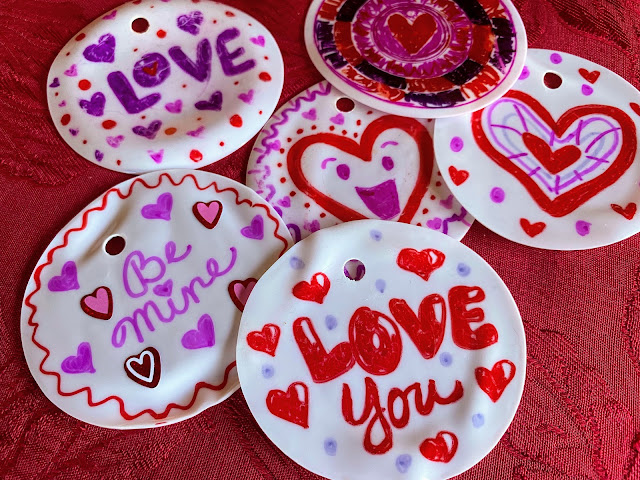
3). Decorate your cups using your Sharpies. I tried various ways of doing this- coloring the entire cup, coloring parts of the cup, and coloring/decorating the ornaments after they melted. See my tips below for more details on that.
4). Once your cups are decorated the way you want them to be, place them on the foiled baking tray. Be sure to leave space between them, since they spread out a little when they melt.
5). Bake in oven at 450 degrees for approximately 1 minute. I recommend watching them when you put them in - don't leave them and walk away! As soon as you see them flatten, that's when you can take them out. If they are curled up on the edges or not entirely flat, give them a few more minutes to flatten out completely.
6.) Allow them to cool for a few seconds on the tray. Remove and use hole puncher to make a hole in them. If your hole puncher causes them to crack, try using a scissor or skewer to "spear" a hole in them instead. If you want to use them as valentines, skip the holes all together.
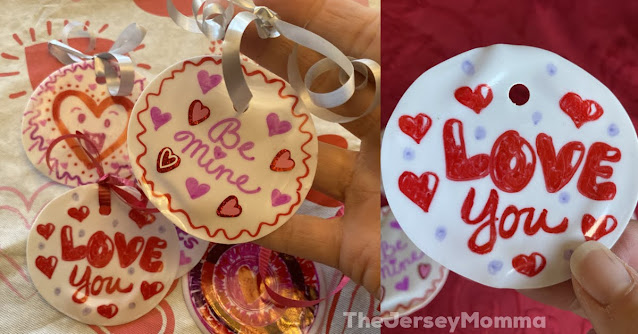
7.) Add ribbon through the holes if you plan on using them as ornaments.
The Jersey Momma's Tips
-Do not use baking spray of any kind. Your cups will not stick to the foil when melted so spray is not needed. It will leave a greasy residue on the cups that you don't want, anyway.
-Do not walk away from the oven while baking. Keep an eye on them so they don't burn or melt too much.
-They do cause a slight plastic smell when baking, so if you have a vent fan, you might want to put it on.
-I, personally, preferred decorating them with Sharpies after they were baked. So I was essentially melting down a plain cup and decorating it afterwards. But coloring the actual cup is something kids might enjoy doing, especially if they enjoy adding little lines and details.
-I have not tried testing these with any other cups other than the 5oz white plastic. I specifically looked for ones that have the recycle number 6 at the bottom, too, based on Pinterest recommendations.
-These look pretty if you leave some white spaces between the color as you're decorating, so don't feel like you have to cover the entire cup with markers (although you can if you want to!)


.jpg)

No comments